How to use Glue Gun for Wax Seals – Sealing Wax with Glue Gun

Creating Elegant Wax Seals with a Glue Gun: A Step-by-Step Guideglue gun for wax seals adds a touch of elegance to invitations and envelopes, and with the right tools and technique, you can easily create beautiful seals using a glue gun. In this step-by-step guide, we’ll walk you through the process, offering tips and tricks along the way.

In this video, Katrina Crouch shows how to make a beautiful glue gun for wax seals using a glue gun and also gives some tips and tricks along the way.
- First, you will need a glue gun for wax seals, glue gun, sealing wax, ice, baggies, towels, and envelopes.
- Put the wax inside the glue gun and set it to low heat.
- Take the seal and set it on top of ice cubes to cool it down.
- Mark the top of the wax seal so you know where to position it.
- Apply one and a half pumps of wax to the envelope.
- Place the seal on the wax and press down gently.
- Let the wax cool and you’re done!
Supplies:
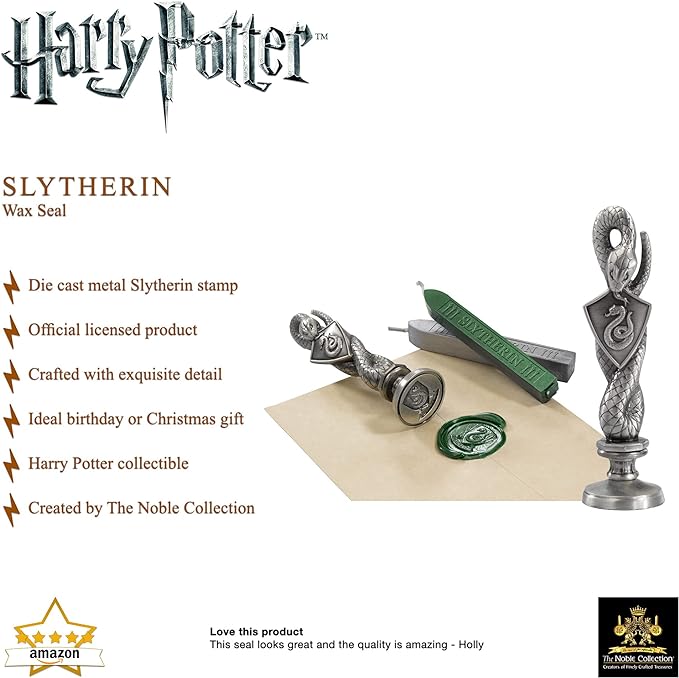
- Seal and Wax: Choose a high-quality seal and wax from reputable sources, such as waxseals.com, and Amazon .com. Opt for colors that match your theme; for instance, antique gold, champagne, or rose gold.
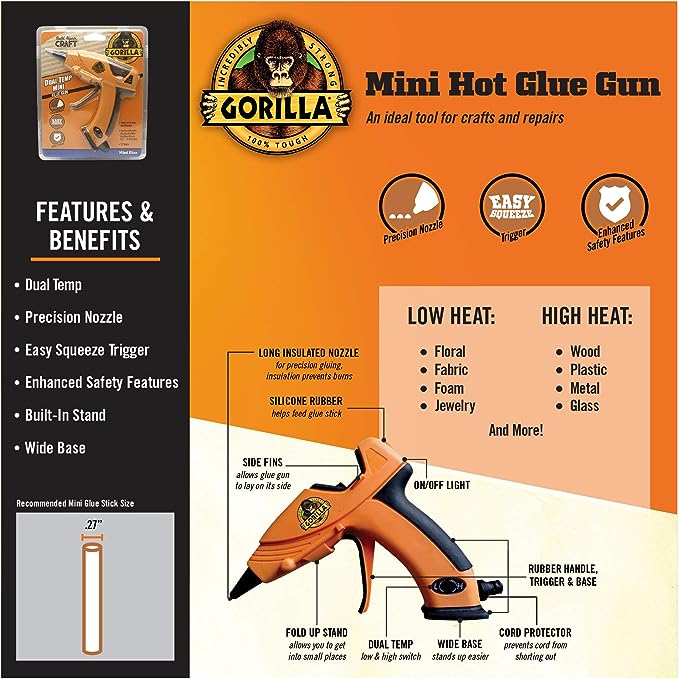
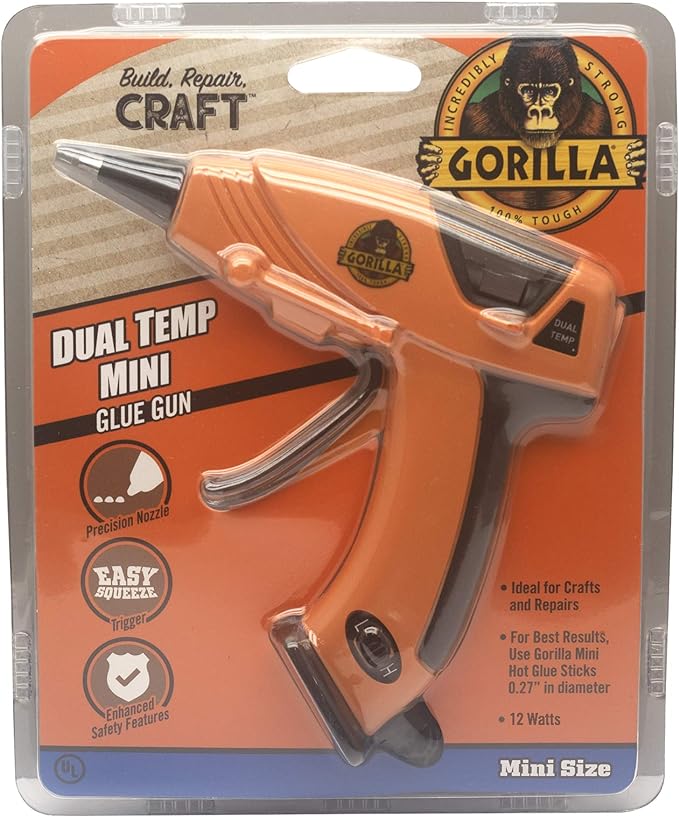
- Glue Gun: A standard-sized glue gun is ideal for this project. Ensure it fits the sealing wax sticks perfectly.
- Envelopes: Select the envelopes you want to embellish with wax seals. The tutorial will use an A2-sized envelope for demonstration.
- Ice Cubes and Water: Prepare a baggie of ice cubes and a small amount of water. These will be used to cool down the seal for faster stamping.
- Towel: Have a clean towel on hand, preferably in a neutral color, to wipe off excess water and ensure a clean finish.
Steps:
Step 1: Prepare Your Glue Gun and Wax
Insert the sealing wax into the glue gun and set it to low heat. This prevents the wax from becoming too bubbly or overflowing. Wait for the glue gun to heat up.
Step 2: Cool the Seal
Place your seal with the print facing up on the ice cubes. Cooling it down will expedite the stamping process, which is particularly useful for larger projects like invitation suites.
Step 3: Mark the Top of the Seal
Use a quick pencil mark to identify the top of your glue gun for wax seals. This step ensures proper alignment when stamping, preventing awkward upside-down placements.
Step 4: Prepare the Envelope
For demonstration purposes, use an A2-sized envelope. Apply a small amount of sealing wax on the flap, ready for stamping.
Step 5: Apply the glue gun for wax seals
Pump about one and a half to two times on the glue gun for glue gun for wax seal trigger to release the wax onto the envelope. Be mindful of the amount, as this contributes to the seal’s overall appearance.
Step 6: Stamp the Seal
Quickly place the cooled wax seal on the envelope, aligning it with the marked top. The cooling process ensures a swift and clean stamp. Press down gently but firmly.
Step 7: Remove Excess Wax
- Have a towel ready to blot off any excess water from the ice cubes. This ensures the wax sets properly without being too wet.
- Gorilla Glue FAQ
- E6000 Vs Gorilla Glue: Which One is the Best?
- Is Gorilla Glue Aquarium Safe
Here are some additional tips from Katrina:
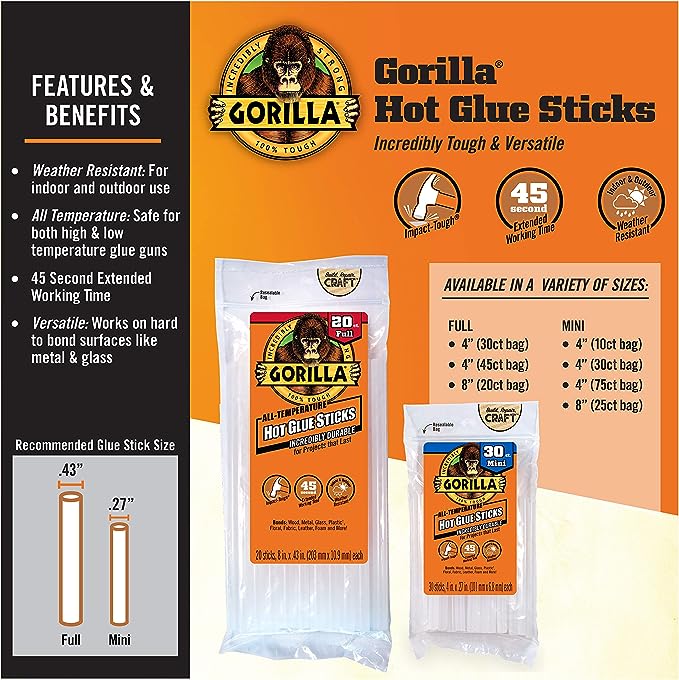
- Use the specific kind of sealing wax that comes in sticks, as the other types will not work well with a glue gun.
- If your wax is too hot, it will get bubbly and look funny.
- Cooling the seal down before stamping will help it to set faster.
- Marking the top of the seal will help you to position it correctly on the envelope.
Using a glue gun for wax seals: Answers to Your Questions:
Can you use a glue gun for wax seals?
Yes, you can use a glue gun for wax seals, but it’s not the traditional method and comes with some drawbacks. Here’s a breakdown:
Pros:
- Convenient: No need for melting spoons or open flames.
- Affordable: Often cheaper than traditional sealing wax and tools.
- Readily available: Glue guns are common household items.
Cons:
- Limited colors and effects: Sealing wax offers a wider variety.
- Lower quality impression: Glue seals may not be as crisp or detailed.
- Potential damage: Hot glue can burn delicate surfaces or documents.
- Residue concerns: Removing dried glue gun for wax seals can be more challenging.
How to get wax out of a glue gun:
Removing wax from a glue gun can be tricky, but here are some methods:
- Freeze and scrape: Freeze the glue gun (with the wax stick removed) for several hours. The wax should become brittle and easier to scrape out.
- Heat and push: Heat the glue gun on a low setting and carefully push the wax out with a wire or tool. Be cautious of burns.
- Solvent soaks: Soak the glue gun nozzle in a solvent like rubbing alcohol or mineral spirits (wear gloves and ensure proper ventilation).
How many glue gun for wax seals per glue stick?
It depends on the size of your glue gun for wax seals and the amount of wax you use. A standard glue stick may yield 5-10 small seals or 2-3 larger seals.
What is a wax gun?
A glue gun for wax seals is a tool specifically designed for melting and dispensing sealing wax. It offers better temperature control and wax compatibility than repurposing a glue gun.
Read More Gorilla Heavy Duty Construction Adhesive Review
How do you use a wax glue gun?
If you choose to use a glue gun for wax seals, follow these steps:
- Use specific sealing wax sticks made for glue guns.
- Set the glue gun for wax seals to low heat to avoid overheating the wax.
- Cool the wax seal before stamping for a cleaner impression.
- Apply a small amount of wax to the envelope and quickly press the seal.
- Let the wax cool completely before handling.
What is a glue gun for wax seals made of?
Glue gun wax can vary depending on the manufacturer, but common ingredients include ethylene vinyl acetate (EVA) copolymer, synthetic resins, and fillers. It differs from traditional sealing wax, which typically uses natural ingredients like beeswax and shellac.
how to use wax seals for envelopes
Adding a Touch of Class:
Using Wax Seals for Envelopes glue gun for wax seals add a touch of elegance and personalization to your envelopes, making them stand out from the ordinary. They’re perfect for invitations, wedding stationery, or simply adding a unique flair to your correspondence. Here’s a guide on how to use glue gun for wax seals for envelopes:
Materials:
- Wax seal stamp: Choose a design that reflects your personality or the occasion.
- Sealing wax: Available in various colors, shapes, and sizes. Opt for flexible wax for easier use.
- Wax melting spoon: A long-handled spoon specifically designed for melting wax.
- Lighter or tea candle: Melt the wax.
- Heat-resistant surface: A silicone mat or ceramic tile works well.
- Envelopes: Choose good quality envelopes with a flap big enough for the seal.
- Optional: Ice cubes and a small bag: To cool the stamp (explained later).
Steps:
- Prepare your workspace: Set up your materials on a clean, well-ventilated surface. Cover the surface with newspaper or a craft mat to catch drips.
- Melt the wax: Light the lighter or candle and hold the spoon over the flame. Add a few pieces of wax to the spoon and let them melt completely, stirring occasionally. Don’t overheat the wax, as it can become brittle and unusable.
Melting wax in a spoon:
- (Optional) Cool the stamp: If you’re using intricate designs, dip the stamp briefly in ice water or hold it over ice cubes for a few seconds. This helps prevent the wax from sticking to the stamp and creates a sharper impression.
- Apply the wax: Hold the spoon close to the envelope flap and pour a small amount of melted wax onto the desired spot. Aim for a size slightly larger than your stamp.
- Make the impression: Quickly press the stamp firmly onto the hot wax, holding it steady for a few seconds. Gently lift the stamp straight up to avoid smudging the design.
Applying wax seal on the envelope:
- Let it cool: Allow the wax to cool and harden completely before touching the envelope. This usually takes 30-60 seconds.
Tips:
- Use light pressure when stamping to avoid breaking the wax.
- Experiment with different colors and shapes of wax for a personalized touch.
- Practice on scrap paper before sealing your final envelopes.
- If you make a mistake, carefully remove the wax with a craft knife while it’s still warm. Be gentle to avoid damaging the envelope.
- For mailing wax-sealed envelopes, it’s recommended to place them inside an outer envelope to protect the seal during transit.
Read Also Elmer’s Glue FAQ
can you use a regular glue gun for wax seals
Yes, you can use a regular glue gun for sealing wax, but it’s essential to keep a few considerations in mind:
1. Temperature Control:
Regular glue guns for wax seals may not have the same temperature control settings as those specifically designed for sealing wax. To avoid overheating and producing bubbly or uneven wax seals, it’s crucial to use a low-temperature glue gun.
2. Compatibility:
Ensure that the sealing wax you choose is suitable for use with a glue gun. Some sealing waxes are specifically formulated to work well with the lower temperatures of glue guns, while others may not melt evenly or adhere properly.
3. Wax Stick Size:
Check if the sealing wax sticks you purchase are compatible with the size of your regular glue gun. Some glue guns are designed for standard-sized glue sticks, while others may require mini glue sticks. Ensure the sealing wax sticks fit securely into the glue gun.
4. Cleanliness:
Regular glue guns may have residual glue residue, so it’s a good idea to clean the glue gun thoroughly before using it for sealing wax to avoid any contamination.
5. Test Runs:
Before applying seals to important documents or invitations, conduct a few test runs on scrap paper to ensure the glue gun and sealing wax are working together effectively.
By taking these precautions and choosing the right sealing wax for your regular glue gun, you can successfully use it for creating beautiful wax seals on your projects.
Conclusion:
Creating wax seals using a glue gun is a simple yet effective way to elevate your invitations or other paper crafts. By following this step-by-step guide, you’ll achieve elegant and professional-looking wax seals that will undoubtedly leave a lasting impression. Experiment with colors and designs to personalize your projects and enjoy the timeless charm that wax seals bring to your correspondence.
